


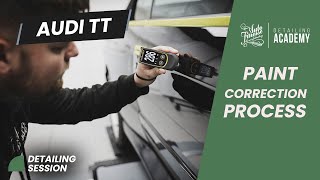


How To Get The Best Results With One Step Compound
How to Get the Best Results with One-Step
 Skip to content
Germany

Sometimes, daily drivers appear to be in great condition at first glance. Often, the owners of these cars are enthusiasts who are already well-versed in safe washing techniques and achieving a high standard of finish. However, that doesn’t mean they wouldn’t like to take their car to the next level. For Tom’s Audi TT, that’s exactly what he wanted.
While this TT may look impressive zipping along the local B-roads, true detailing enthusiasts know there’s always room for improvement when you take a closer look. Tom, after months of enjoying the car through country lanes, asked us to help rid his pride and joy of the scratches and swirls accumulated over the years—both before and during his ownership. Sure, the car was due for a wash and interior refresh, but being a black Audi, one of the most unforgiving colors with notoriously hard paint, this little coupe was in need of a full correction. Fortunately, we had the perfect solution for the job: our Revitalise System combined with the DPX Dual Action Polisher. But first, of course, we needed to wash and decontaminate it thoroughly...
We don’t need to tell you how crucial it is to follow a proper pre-wash and wash procedure, especially when preparing a car for paint correction. But what’s just as important is carrying out a full decontamination to remove any contaminants that could cause issues in the later stages. With the right products and techniques, this process is straightforward. After addressing the wheels and engine bay, we began by pre-washing with Avalanche Snow Foam and performing a contact wash with Lather Car Shampoo. Once all the major road grime was removed, we moved on to the chemical removal of metal particles using Iron Out Contaminant Remover. After thoroughly rinsing, we tackled the sticky tar with ObliTARate Tar and Glue Remover, followed by a wash and rinse to neutralize any leftover chemicals. Finally, we used one of our Handi Clay pads to remove any remaining embedded contaminants.
Once fully dried, we rolled the TT into the bay, ready to begin masking off the rubber window trims. Tom had also requested the removal of the front badges for a sleeker appearance, which is actually a straightforward process when you know the right techniques. With a bit of heavy-duty fishing line, a rubber eraser wheel, and some ObliTARate to clean up any adhesive residue, the badges were quickly removed.
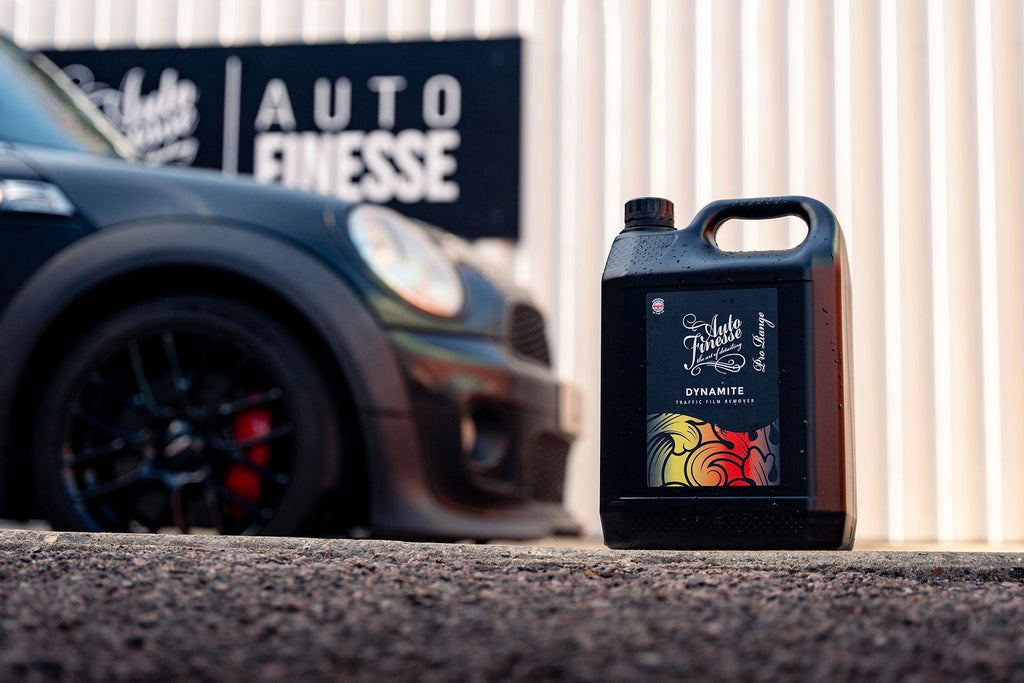
Auto Finesse® ObliTARate tar and glue remover, is a solvent-based formula that quickly dissolves stubborn tar and glue residues and contamination on contact ev... See product details More
As you’ve probably guessed, this is the core of the process. By using a light source to inspect the paint, all the swirl marks and imperfections become instantly visible. These are the areas we’ll focus on using abrasive compounds.
We identified the sections that needed extra attention—particularly the passenger side, which had significant marks from contact with roadside hedges—and began working with the DPX polisher, progressing through all three stages of the Revitalise System. With just these products, we were able to cut, polish, and refine the paint to a level of perfection we suspect this car has never experienced, not even when it left the factory.
While many would expect us to use our Caramics Paint Protection Kit here—especially for a daily driver—it’s essential to consider other key factors, particularly the owner's preferences. Tom, an enthusiast, enjoys the routine of washing and regularly applying wax. He also prefers the depth and clarity that a high-quality, carnauba-rich product provides. As a result, we treated his TT to two layers of our flagship hard wax, Desire. That said, we didn’t overlook the benefits of our Caramics range; we still used it to add extreme protection to other areas. Both the wheels and windows were carefully prepared and coated, following our streamlined process designed to make ceramic coating easier than ever.
We think the results speak for themselves. While this blog highlights the key steps, many additional stages and products were used both inside and out to bring this car up to true Auto Finesse standards. Don’t forget to check out the video at the top of the page for a complete breakdown of the process.
