


How To Get The Best Results With One Step Compound
How to Get the Best Results with One-Step
 Skip to content
Germany

It’s hard to believe, we know, but not everyone is a die-hard car detailing enthusiast. However, that’s not necessarily a bad thing—your flawlessly polished car will stand out even more, and it also helps keep professional detailers in business.
The truth is, not all cars are regularly cleaned, let alone detailed to the level we enthusiasts expect. For some owners, their vehicles are seen as nothing more than tools to get from A to B—often with speed being the top priority. While some cars are certainly a sight to behold, for many, performance and practicality take precedence over appearance. This is especially true for high-performance road cars, many of which have seen their fair share of track days and hard driving.
These are the types of vehicles where owners are likely to focus on washing them quickly and efficiently, with little time or interest in polishing or waxing between track sessions or spirited drives. Like many enthusiast-owned cars, they’re perfect candidates for Caramics protection. After all, a durable coating that prevents grime from sticking is exactly what these owners need for an easy-to-maintain solution.
However, before any ceramic coating can be applied, the car needs to be thoroughly cleaned and prepped. In some cases, this may require a more in-depth approach. This is where the art of the deep clean comes in...
It all boils down to three factors: the age of the vehicle, the level of detailing knowledge, and the amount of neglect it has experienced. Whether it's a performance-focused car, an older model you've just acquired, or a well-maintained car that hasn't seen a deep clean in a while, a thorough clean is one of the most effective ways to restore a car to its best condition. After all, if you're not the fastest on the road or track, you might as well be the most visually striking! While it's not necessary to deep clean your car before using our Caramics range, taking that extra step will always enhance your overall detail and the final result.
Deep cleaning goes beyond regular maintenance or decontamination detailing, not just in the extra steps involved, but also in the condition of the vehicle itself. At its core, deep cleaning often means "removing parts" to access areas that are typically hidden or overlooked. These areas, although not immediately visible, are crucial to the car's overall health. Common dirt traps, such as behind lights or under trim, can harbor ingrained contaminants that cause rust, friction damage to seals, and even degradation of the paintwork in areas rarely cleaned.
In some cases, it may be necessary to remove parts to clean effectively. While many cars may look detailed on the surface, a deeper inspection often reveals hidden issues. The good news is that with the right tools, deep cleaning doesn’t require expensive equipment or complex processes—just a bit of elbow grease and some accessible, off-the-shelf products from Auto Finesse. Here’s how you can tackle it…
For this task, we needed a car that had endured its fair share of wear and tear without much detailing attention—essentially, we brought in a ringer.
Mark’s heavily modified FD RX-7 was the ideal candidate. Not only has it spent countless hours on the track, but it had also been left outside over the winter, awaiting an engine rebuild. With most of the 2020 season a washout and Mark away shooting for Top Gear and Speedhunters, we decided it was the perfect time to give it a full overhaul.
While this car may be a dream for hardcore tuner enthusiasts, the same detailing principles apply here as they would to any vehicle, transforming this pedigree Japanese classic into something truly special.
As with any deep clean, preparation is key, and following a methodical approach is essential. We always begin with the wheels, as they’re often the dirtiest and most neglected parts of the car, so it’s best to tackle them first.
Start by jacking up the car and removing the wheels. There’s no need to take off all four at once—safety is the priority, so be sure to use your common sense and reliable axle stands. We typically begin with the front wheels, as they tend to accumulate the most grime, and then move on to the rear.
Removing the wheels not only allows you to clean the barrels thoroughly but also gives you access to the chassis and arch liners, which are typically the dirtiest parts of the car. Begin with a long, methodical rinse using a pressure washer to lift off any caked-on mud. If needed, don’t hesitate to remove the arch liners to ensure a deeper clean. Be sure to focus on the top of the wheel wells, where dirt often dries and becomes more stubborn.
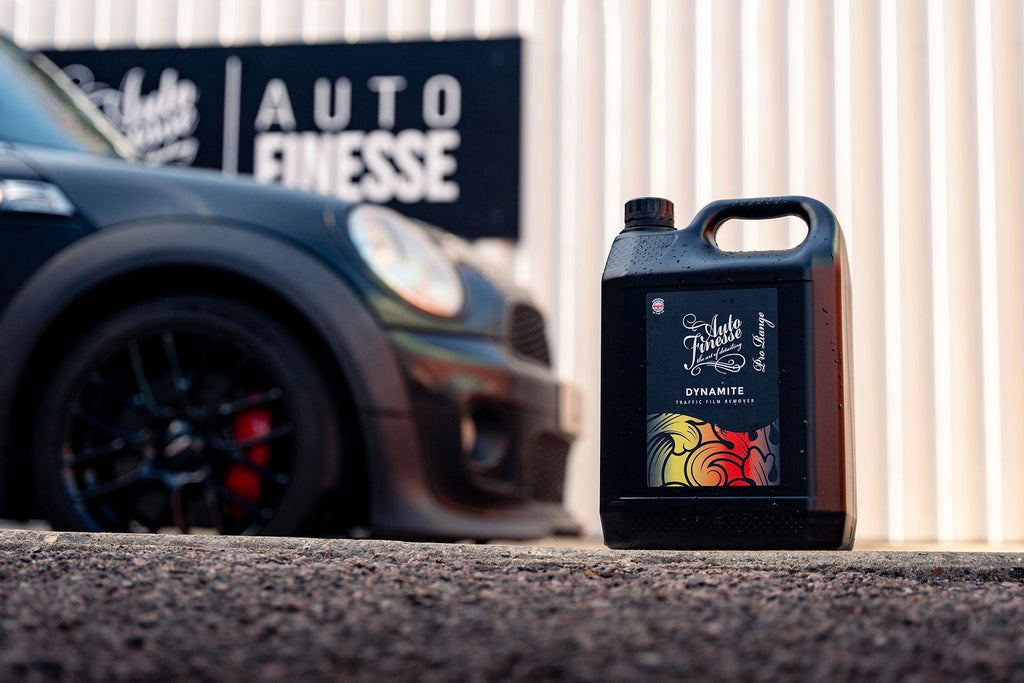
With the car raised, you can also take the opportunity to blast away dirt and debris from the underside. After the pre-rinse, use a combination of Dynamite Traffic Film Remover and Eradicate Engine Degreaser on all affected areas to break down any remaining grime. Agitate the products into the surfaces using a detailing brush or Scrubi spot pad to ensure a thorough clean.
Once rinsed, it’s essential to carry out metal decontamination. The under arches, along with the wheels, often accumulate the most hot brake dust, which contains metal particles that can cause corrosion if left untreated. To remove these, apply Iron Out Fallout Remover generously to the affected areas, including suspension and brake components. This will chemically dissolve the ferrous contaminants, helping to prevent any further damage or corrosion caused by these harsh particles.
Now, moving on to the wheels. The cleaning process here mirrors what you'd do for a full decontamination wash, but with the added benefit of better access to the rear of the spokes and barrels. This is crucial because these hidden areas will also be coated with Caramics Wheel Protection Kit later, so it's important to give them the same level of attention. Remember, the unseen parts of your wheels accumulate just as much brake dust, if not more, than the faces.
Start by protecting the faces and lips from any damage when positioning the wheels "face down." For cleaning, we recommend a triple approach. Begin with Iron Out Fallout Remover, followed by Imperial Alloy Wheel Cleaner, and finish with Revolution Wheel Shampoo applied with a brush. This combination ensures that all metal particles and grime are thoroughly removed.
To finish, we use Verso All Purpose Cleaner and a Scrubi Spot Pad to clean the tyres, removing dirt and any residual dressings. Once the tyres are done, we can flip the wheel over and repeat the process on the face. As always, tackle the dirtiest areas first, starting with the barrels. This way, you avoid having to clean the faces twice.
In our case, we needed to move the vehicle later, so we refitted the wheel. However, if your car is staying stationary, you can remove the wheels and begin the coating process elsewhere.
It's also important to note that different wheel types, from lacquered finishes like these to more specialized ones like polished wheels, may require varying levels of cleaning. For more detailed guidance on products and techniques, be sure to check out our Definitive Wheel Cleaning Guide.
The engine bay is often one of the dirtiest areas of the car. Even a recently rebuilt engine typically isn't detailed, so we continue our deep cleaning process here to ensure it's thoroughly cleaned as well.
The first step is to assess what you're working with. Modern cars often have plenty of protective plastics, but older or modified vehicles may have exposed wiring and open cone filters that require extra attention. Before reaching for the pressure washer, make sure you're mindful of where you're spraying. Use protective covers where possible, and always avoid directing water onto electronics or the alternator.
In this case, we removed the open filter and protected some of the wiring before performing a thorough pre-rinse. Next, we applied Eradicate Engine Degreaser generously, brushing it into any hard-to-reach areas before rinsing it off. The underside of the fibreglass bonnet wasn't as dirty, so a 1:5 dilution of Verso was ideal for removing the remaining grime. While the engine bay still required some additional attention, we would address that during the finishing stages.
Pre-washing is an essential step, whether you’re performing maintenance, decontamination, or a deep clean. This process ensures that heavy dirt and grime are removed before your wash mitt touches the paintwork, reducing the risk of scratches and swirls. It’s the foundation of a proper, swirl-free wash.
For a deep clean, the pre-wash process is largely the same but requires extra attention to detail. Be thorough during the pre-rinse, ensuring no areas are overlooked—focus on grime trapped around trim, under spoilers, and in other hidden spots. Use a more generous application of Citrus Bug and Grime Remover, along with Dynamite Traffic Film Remover, across the entire vehicle for optimal results.
The same principle applies to using snow foam. Avalanche Snow Foam is a must-have for pre-washing, effectively lifting away potentially abrasive grime before it can cause damage—but you probably already knew that, didn’t you?
The contact wash follows the familiar process we all know and trust. The key here is to use the two-bucket method and be as thorough as possible. Take your time to work brushes into window seals, around grilles, and don’t overlook washing and rinsing the door shuts and jambs. Attention to detail makes all the difference.
The final step of the wash stage is always decontamination, but with a car like this, the difference lies in the sheer amount of contaminants you're likely to encounter. Performance vehicles, especially those that see track use, are particularly prone to metal contamination from excessive brake dust caused by intense braking—often including debris from other cars nearby. They're also frequently hit with sticky rubber and tar. These cars are faster, work harder, and inevitably pick up more grime. It just makes sense, doesn’t it?
Spraying Iron Out across the entire vehicle and working it in with a microfibre pad effectively eliminates metal contaminants. Once rinsed off, you'll need to focus on the lower sections, particularly around the wheels, where the toughest, most stubborn contaminants tend to accumulate. For these areas, use ObliTARate Tar and Glue Remover. A few sprays will cause the stickiest residues to break down and bleed away from the paint, allowing you to wipe them off with a clean microfibre. Be sure to re-wash and rinse these areas afterward to neutralise any residual chemicals.
We dried and then moved the RX-7 indoors to finish the decontamination process after drying, but you might prefer to keep your car in place or even complete this step before drying. The key here is to ensure your clay is well-lubricated with Glide Clay Lube as it works to remove the final traces of embedded contamination.
Using Detailing Clay or Handi Clay Pads is a crucial step in preparing the car for the next stages, and you’ll notice the difference immediately. The surface becomes noticeably smoother and more slippery as you pass the clay over it.
There’s no need to focus on specific areas—just clay the entire vehicle, including the lights. The process is quicker and easier than you might think, so don’t worry about it taking too much time.
This is where the deep cleaning process truly shines. It’s also the step where you’ll need to exercise extra caution—especially if you’re working on someone else’s car. The key to effective preparation is accessing those hard-to-reach dirt traps, which often means removing easily detachable components like lights, trim pieces, or spoilers for separate cleaning.
We emphasise "easily removable" parts because these are usually the areas where dirt and dust accumulate around fitting gaps and seals. There’s no need to go overboard and strip the car down to a bare shell, as it’s rare to find many unprotected surfaces requiring deep cleaning. Plus, disassembling too much increases the risk of losing or damaging parts.
Keep in mind that seals, rubbers, and even windows serve a specific purpose and are rarely straightforward to remove. These components can typically be masked off for paint correction and cleaned thoroughly while still in place. During this stage, it’s also helpful to have the wheels off, as this allows for easier access to clean, detail, and dress areas like arch liners and brake discs.
Once these parts are removed, you’ll uncover hidden grime you likely never realized was there. Often, this buildup has accumulated over years of exposure, but the good news is it’s not difficult to clean. Areas like behind lights and under spoilers are prime examples—these spots typically house plenty of dirt in the recesses, and the removed parts themselves are usually covered in grime on the back. A 1:5 solution of Verso is ideal for tackling this. Agitate the area with a brush to break down stubborn dirt, then simply wipe it clean with a microfibre cloth.
Removed parts can also be given special attention away from the car. For instance, rear lights often benefit significantly from machine polishing, restoring their clarity and shine. Similarly, plastic trim pieces can be rejuvenated with ease using Revive Trim Dressing, bringing them back to life and enhancing their appearance.
While many track and road cars today are vinyl-wrapped, it’s important to understand how coatings work. Ceramic coatings bond to the surface, forming a hard SiO2 barrier that locks out grime. However, this also means that any defects in the paint will be sealed in as well.
This isn’t typically a concern for wraps or cars covered in decals, but it can highlight imperfections in poorly maintained paintwork. For this reason, paint correction before applying a coating is strongly recommended. Thankfully, there's no easier or more cost-effective way to achieve this than with our Revitalise Paint Correction Kit and DPX Dual Action Machine Polisher.
The Revitalise Paint Correction Kit is designed for simplicity, featuring colour-coded pads and three grades of compound to cover every stage, from cutting to refining. This ensures a flawless surface that’s ready for the application of your Caramics Ceramic Coating.
Using the Revitalise Kit is a straightforward process: just work through each stage slowly and methodically, addressing each panel individually.
Once you've completed the paint correction with the Revitalise Kit, you're technically ready to apply the coating. However, it’s often best to deep clean the interior first for a more thorough detail.
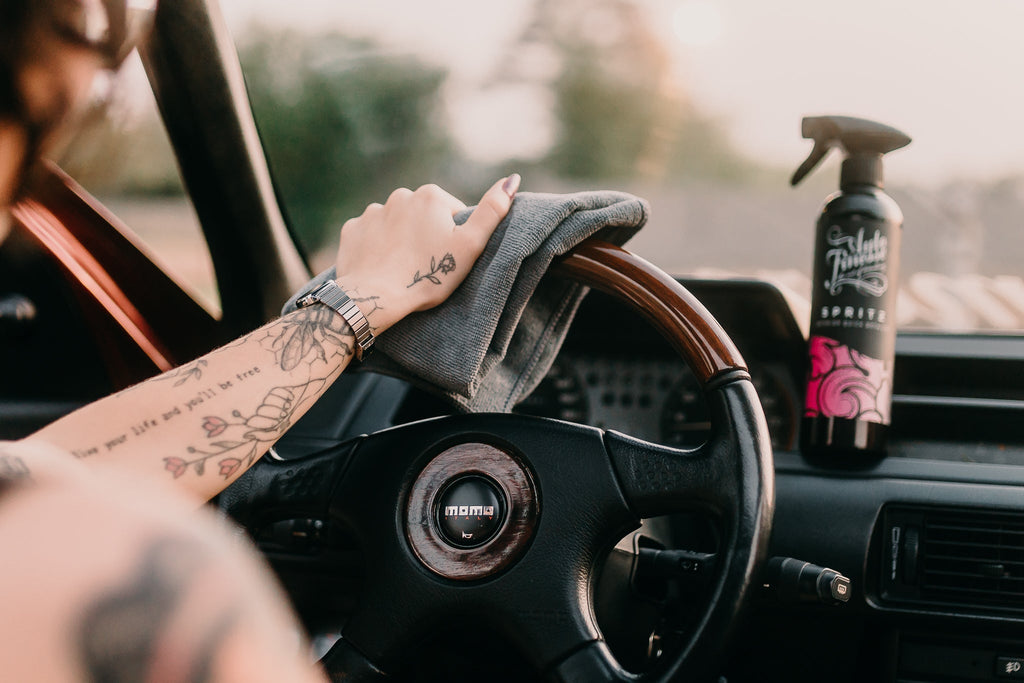
The key to this process is staying methodical. Start by vacuuming up the majority of dirt and debris, then thoroughly apply Total Car Interior Cleaner to every surface. For plastics, use a detailing brush to agitate and help the cleaner penetrate, lifting grime as you go. Pay extra attention to areas like switches, air vents, and steering wheel trim, where dust and oils tend to accumulate. To ensure a thorough clean, use Wipe Out Car Interior Disinfectant around air vents and on high-contact areas such as the shifter and steering wheel. It's particularly effective at eliminating germs and harmful bacteria.
To clean carpets, mats, and soft fabrics, just reach for more of Total. It's aptly named because it truly does it all! An Upholstery Brush works wonders for agitating the cleaner deep into the fibres of seats and carpets. It's also great for working Hide Leather Cleaner into leather seats and door cards. Both of these top interior cleaning products follow a simple routine: spray on, agitate, and wipe off. After cleaning, be sure to let your fabrics dry thoroughly.
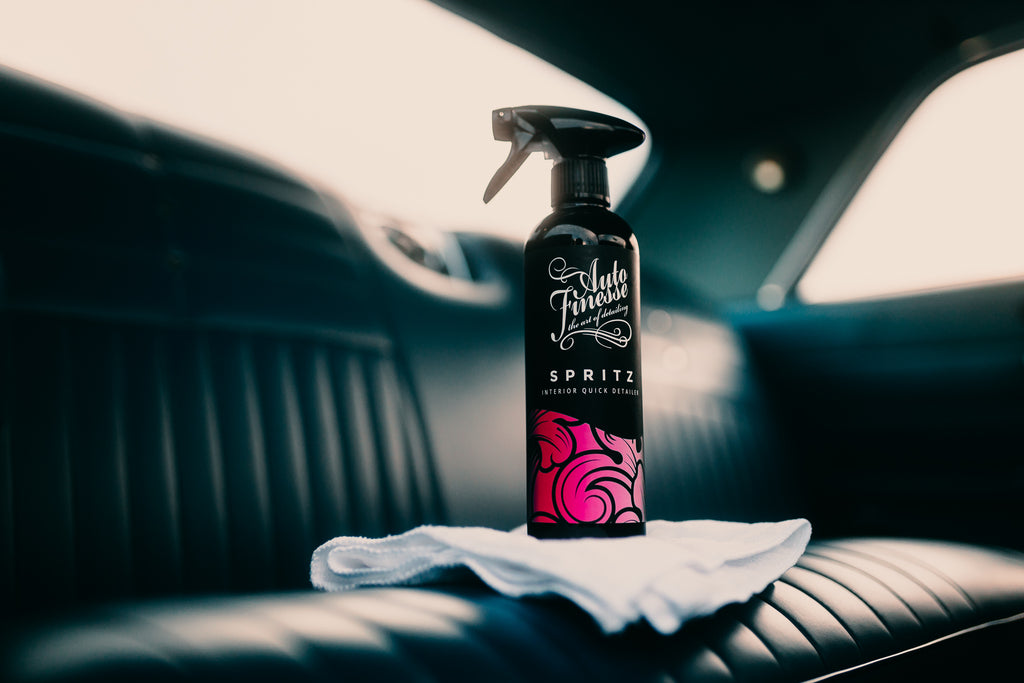
In detailing, finishing touches are just as crucial as cleaning and sanitising. Conditioning leather seats with Hide Leather Conditioner, ensuring your interior glass is streak-free with Crystal Glass Cleaner, and restoring a subtle factory finish to dashboards and trim with Spritz Interior Detailer are all quick, easy steps that elevate your deep clean to a professional standard.
This is also the perfect time to tackle those small yet impactful detailing tasks. For example, we used Tripple All In One Car Polish to clean and polish the inner doors and seals, applied Dressle All Purpose Trim Dressing on plastic trims and kick plates, and even polished the alloy battery box in the boot with Mercury Metal Polish. Why? Because it's the attention to detail that truly makes a difference.
Once your seats and carpets are completely dry, you can begin applying our Caramics Interior Ceramic Coating. Using the Fabric Coating is straightforward: simply spray a fine mist onto the surface, let it dry, and it will cure to form a hydrophobic layer that helps prevent spills and dirt from embedding into the fabric.
For the best results, apply two coats, allowing 3-4 hours of drying time between each. In our case, we sprayed the first coat onto the seats and mats while they were removed from the car. This allowed us to treat the carpets and leather rear bench (using the supplied leather coating) before refitting the seats and applying the final coat.
Our Caramics Paint Protection Ceramic Coating Kit is designed to make ceramic coating easy for the at-home user. Thanks to our innovative Ceramic Resin Wipes, the application process is quick and straightforward—perfect for when your car is fully assembled. These wipes are also safe for use on lights (just avoid plastic trim), so the next step is to reassemble the car, reinstalling all the parts we've removed, cleaned, and polished.
The only parts left to coat are the wheels, which we'll do separately, both inside and out.
There isn’t a formal name for this step, so let’s just call it pre-finishing. This stage involves tackling the small finishing tasks that could interfere with the curing process or risk contact with the coating, particularly those where overspray, dust, or dry residues might be an issue. For us, this includes using Verso on the window rubbers, Dressle on the arch liners and engine bay, Tripple Car Polish and Mercury Metal Polish for certain under-bonnet areas, and refitting parts we’ve touched up—plus, installing a brand-new HKS air filter.
It’s important to note that this step is only necessary if you plan to continue detailing during the 6-hour curing window for the resin. If you’re leaving the car overnight between steps, you can complete these tasks later, just as you would in a more traditional detailing session.
Now it's time to apply the paint coating, but before you start, give the entire car a wipe-down with the included Caramics Prep Spray. As the name suggests, this step ensures the surface is fully prepared, creating the perfect conditions for the ceramic bond. After this quick preparation, you can begin applying the Ceramic Resin Wipes, working panel by panel. Once applied, simply buff off any residue and let it cure. It’s that straightforward.
There’s no set order for applying the Caramics Resin Wipes, but we recommend starting with the roof, bonnet, and tailgate, followed by the sides, and finishing with the bumpers and lights. This method helps prevent accidental contact with already-coated areas when leaning over the panels.
Coating wheels with the Caramics system follows a slightly different process. As with the paint coating, you'll start by using a prep spray to ensure the surface is ready for optimal adhesion. However, the Wheel Coating itself is a simple spray application—you spritz it directly onto the surface, then use an applicator cloth to spread it evenly, followed by buffing off any excess residue.
While the Caramics Wheel Protection Kit can be used with the wheels still on the car, removing them offers better access to the barrels. We recommend starting with the barrels first, then moving on to the faces of the wheels. This method helps minimise the risk of overspray or leftover residue on the more visible areas.
The final product in the Caramics lineup is our Glass Protection Kit. Similar to the paint application process, this kit uses our specialized Glass Wipes, allowing you to effortlessly apply the coating to your glass surfaces. However, the preparation and finishing steps differ slightly. This kit includes Caramics Glass Polish, designed to enhance the bonding of the coating to the surface.
Additionally, a residue remover is provided to eliminate any excess product, ensuring a clean and polished finish after coating your glass.
With the exterior fully coated and cured, the detail is almost complete. All that remains are the final touches that elevate the process from basic cleaning or valeting to the art of true detailing.
The final steps—and your choice of favorite Auto Finesse detailing products—will always depend on your vehicle and how you aim to enhance your detailing. For us, after reattaching the wheels, a quick application of Satin Tyre Dressing on the chunky tires and a touch of trim restoration with Revive Trim Dressing were all it took to achieve the desired finish.
It’s always rewarding to take a step back and appreciate the results after a job well done. We’re excited to see this RX-7 back where it belongs—on the road and the track, being driven as it should. Thanks to the protection provided by the Caramics range, we’re eager to see how effortlessly Mark will be able to keep it looking pristine between sessions.
