


How To Get The Best Results With One Step Compound
How to Get the Best Results with One-Step
 Skip to content
Germany

A common question we receive from enthusiasts, show car owners, and detailing professionals alike is how to detail a car straight out of the body shop. It’s a great question, as handling tasks like machine polishing new paint, removing abrasive dust, and applying protective layers often requires a slightly different approach than usual. Even basic steps, like performing a super-safe pre-wash, have a few extra considerations. That’s where we come in. Here’s our essential guide, packed with professional tips and the best detailing products to help you through the process.
Take your detailing game to the next level with the Auto Finesse DPX Dual Action Car Polisher. Developed as a full-bodied, 15mm random orbital DA (Dual Action)... See product details More
The simple truth is that paint isn’t truly flawless until it has been properly detailed. Whether it’s a crash repair, body kit installation, or a full color change, many people overlook the fact that paintwork always requires significant refinement after being sprayed, wet sanded, and compounded by a body shop. It’s also important to remember that most paint specialists work on a high volume of jobs, and the detailing process—particularly when refining an entire car—can take longer than the initial prep and paint stages. This adds to the cost for the body shop, which ultimately gets passed on to you.
However, this is about more than just saving some money. Achieving a show-worthy finish is virtually impossible for a painter alone. Their primary job is to create paintwork that’s acceptable for everyday vehicles. Even when a body shop specialises in show cars or high-end exotics, they typically rely on a detailer—often off-site—to perfect the final finish. While it's easy to be impressed by the dramatic transformation of a "full respray," it’s important to look a little closer at the finer details.
Above all, it’s important to view body shops as refinishers, not detailers. While having a skilled painter for the initial stages is essential, the final finish can only be as good as the time—and the additional labor costs—invested in the final refinement stages.
Before any paint refinement can begin, a refinisher will carry out several tasks beyond preparation, priming, and painting. First, they’ll wet sand the car to smooth and level the surface. Contrary to popular belief, fresh paint is far from flat when initially applied. In fact, it requires significant sanding to create a smooth, even surface that’s ready for compounding.
After wet sanding, the refinisher will move on to compounding, or "cutting" the paintwork. This starts with a heavy cutting compound to remove the most noticeable abrasions and sanding marks. They will then switch to a medium or fine compound to blend the paint, improve the optical finish, and add some gloss. While this level of shine may be sufficient for an untrained eye on an everyday car, it’s unlikely to meet the refined standard that a true detailing enthusiast would expect.
The initial refinishing compounds used are relatively coarse abrasives designed to work with a rotary polisher, providing a decent sheen. However, they’re usually not fine enough to achieve a show-worthy finish. In direct sunlight (or under specialised detailing lights), you'll almost always spot swirl marks, holograms, and other imperfections left behind. These flaws are what need further refinement by a skilled detailer.
Another important point to note is that body shops typically don't apply paint protection layers. Even after the paint is baked on, it can take up to a month to fully cure, and most body shops aren't willing to have your car sit around that long.
The ultimate professional detailing light, the Auto Finesse Swirl Spotter is an indispensable tool for taking your paint enhancement and correction processes t... See product details More
We know paint correction is essential, but as you'd expect, it can only be done on an impeccably clean surface. This means that the washing and decontamination stages are just as crucial in preparation for machine polishing.
There are three other key factors to consider when cleaning and finishing a car with fresh paint: removing any harmful dust, eliminating overspray, and applying the final layer of protection to the paintwork.
A body shop environment is far from ideal for paint refinement or for keeping your car clean initially, primarily due to dust. When sanding old paint, fibreglass, body fillers, and rubbing compounds, they break down into coarse abrasive particles—something that happens extensively during the preparation process before a car enters the paint booth. The issue is made worse by having multiple cars in the same space, as these fine particles can easily travel through the air and settle on other surfaces.
The first issue is that abrasive dust will inevitably settle on your uncured paintwork. While the body shop will typically wash the car before returning it, this doesn’t guarantee the same level of care and safety a detailer would provide. The second problem is that this dust can end up in many other places. During the painting process, cars are often stripped down to their component parts—bonnets, bumpers, and sometimes doors are removed and painted separately. Despite some protective measures, abrasive particles can reach unusual places during preparation, especially before the car is masked off for painting. Wheels, interiors, and engine bays are particularly vulnerable to collecting dust, and all of this will need to be thoroughly cleaned.
Parts that aren't being painted are always masked off, but like dust, paint can easily end up in unexpected places. This is even more likely because paint uses a propellant to become airborne, creating a mist that floats around. A bit of overspray here and there is common, no matter how careful the body shop is, and it will need to be removed once the paint has dried. While most refinishers will do their best to clean up overspray, especially in obvious areas, you may still find some left on spots like window rubbers, plastic trim, wheel arch liners, and sometimes even inside the car. Keep in mind, these professionals work on paint jobs day in and day out, so it’s understandable if a few spots are missed—after all, they’re only human. For the most part, these random patches of overspray only become noticeable during a full detail, highlighting the difference between what's acceptable for a daily driver or car trader and the higher standard expected by detailing enthusiasts.
Fortunately, overspray isn’t a major issue. It’s typically caused by a fine mist that settles on an unprepared surface. While it may adhere to the surface, it’s unlikely to be fully bonded. This means that with the right products, it can usually be removed quite easily.
This is often the most misunderstood aspect of detailing a newly-painted car. While it's clear that your fresh paintwork needs protection from the elements—especially since you'll be showing off your new colour—it's equally important to consider the curing time when selecting your protective product.
As mentioned, fresh paint can take up to a month to fully cure into a hardened surface. There’s what’s called an "initial cure," which occurs after about 24 hours, making the paint firm enough for sanding and polishing. This is why it’s perfectly fine to refine the paintwork before it reaches its final hardness. However, after this initial cure, there’s still a "gassing out" period, where residual solvents are released from the surface through evaporation. This process can continue for a month or so until the paint fully cures. This is why applying non-permeable protective layers, such as quartz-based ceramic coatings, can prevent the paint from breathing and interfere with the final curing. For this reason, we recommend avoiding hard waxes and non-permeable sealants. Instead, opt for a permeable product like Radiance Carnauba Crème to provide protection while allowing the paint to fully cure.
Radiance provides 3 months of durability, giving you plenty of time to enjoy its protection. Once that period is up, you can either continue using it, safely switch to your favourite Auto Finesse hard wax, or upgrade to the extreme protection offered by our Caramics Paintwork Protection Kit.
Radiance carnauba wax créme is packed with T1 grade carnauba car wax that offers the deep, wet look gloss associated with our hard wax collection, but in the f... See product details More
The best way to demonstrate it is by doing the job ourselves, so we brought this freshly sprayed VW to the Auto Finesse Detailing Academy…
As with many full details, it's a good idea to begin with the engine bay. Especially with a car that’s been prepped with the bonnet off, it’s likely to be covered in dust. In most cases, this area will be the most affected, and many body shops will do little more than use an air-line to blow off the surface dust.
Cleaning a dusty engine bay is similar to cleaning any other bay, but it requires extra attention to thoroughly pre-rinse and remove as much of the baked-on dust as possible. Start by protecting any exposed filters and electrical components, then give the bay a thorough rinse. Next, apply Eradicate Engine Degreaser across the entire engine bay, brushing it in for maximum effectiveness. For the under-bonnet and shuts, use a 1:5 solution of Verso for a deeper clean.
After rinsing and drying, we like to apply Dressle All Purpose Trim Dressing to the entire engine bay, allowing it to cure for 4-6 hours while we finish the rest of the detail. Once done, we simply wipe away any excess.
Deep clean your engine bay with this engine cleaning must have! Eradicate engine degreaser, the hard hitting grime removing engine cleaner developed specifical... See product details More
The next step is to clean off any deposits left on the wheels. Like the engine bay and other unpainted areas, wheels can easily collect dust, and you'll often find a significant amount of it under the wheel arches too. While the process of using Imperial Wheel Cleaner and Revolution Wheel Soap remains the same, an extra-long pre-rinse can be especially helpful in lifting off abrasive dust that’s settled. It's crucial to remove all traces of dust, so make sure to focus on the tyres and wheel arch liners during the pre-rinse. By getting rid of these contaminants now, you’ll prevent them from transferring back onto your paintwork when you move the car.
An acid-free alloy wheel cleaner that can take your rims from shameful to sparkling on every single detail with our powerful. The go-to product for many a car d... See product details More
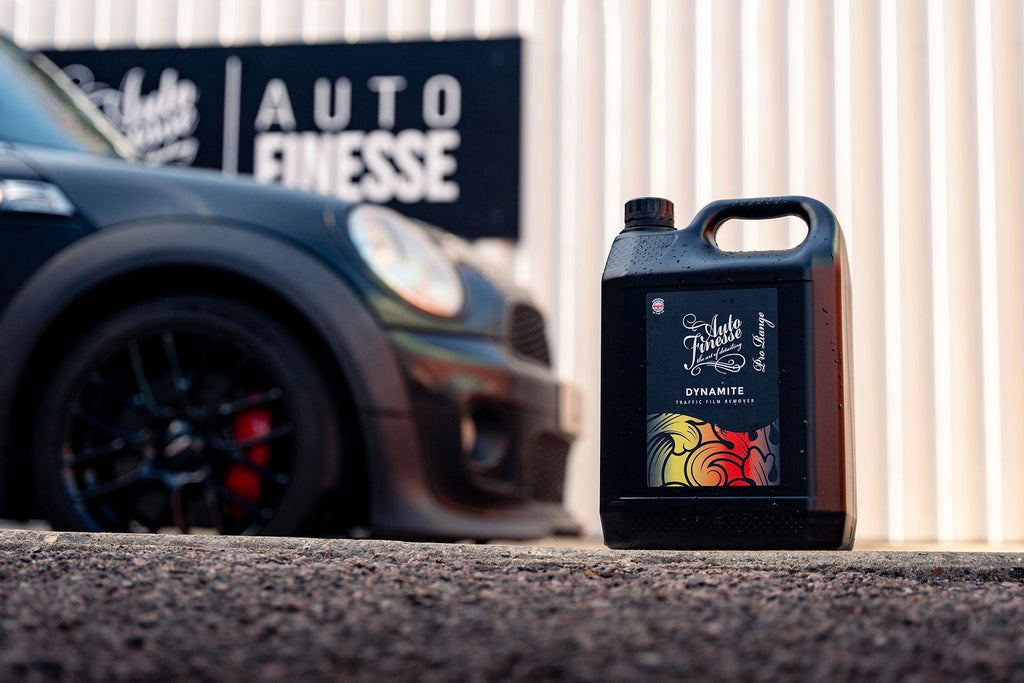
As with any detail, the pre-wash is the most important step, but it's even more critical in this case due to the amount of abrasive dust you're likely to encounter.
First, assess the situation. Regardless of whether you're performing a safe wash, your refinisher will have removed most of the dust from the exterior, and it’s unlikely that you've driven far enough from the body shop or left your car outside long enough to accumulate enough dirt to require a pre-wash cleaner or TFR. In general, you won’t need strong pre-wash solutions on fresh, unprotected paint. However, if necessary, you can adjust your approach. A small amount of Verso diluted 1:10 with water is usually enough to tackle any light road grime, especially if you’ve driven a bit further than ideal before starting your detail.
The goal here is to prepare the car for paint correction and remove any remaining dust and body shop fallout, especially from the harder-to-reach and often overlooked areas. Start with a thorough rinse using a pressure washer to lift away the worst contaminants, particularly from panel gaps, trim, and window rubbers. You’ll be surprised at how much dirt will wash away during the pre-rinse, even if the car already appears clean.
Next, apply Avalanche Snow Foam. This will help break down any stubborn dust, especially if you brush the foam into intricate areas like grills, fuel flaps, and weather strips.
After another thorough rinse, follow up with a careful 2-bucket wash using Lather Car Shampoo and an Ultra Soft Wash Mitt to ensure the surface is free from abrasives and contaminants.
There’s no need for decontamination washing on fresh paint, so you can skip the Iron Out or Clay Bar Kit. Before drying, however, reassess the situation to ensure no dust has settled back onto the paintwork. Check common dirt traps like grills, bumper recesses, trims, shut lines, panel gaps, and wing mirrors. If the car isn’t completely clean, it’s better to wash it again now than to deal with corrections later. Once you're satisfied, a final rinse and dry is all that’s left. Be thorough with your Aqua Deluxe Drying Towel, avoiding quick detailers or drying aids. Don’t forget to dry any water trapped in the wheels and door shuts as well.
The ultimate luxury microfibre car drying towel, our Aqua Deluxe is constructed from ultra-dense 1200GSM pile microfibre which smoothy glides over paintwork an... See product details More
While many opt to clean the interior last during a full detail, it’s a good idea to tackle it earlier if the car is extremely dusty. This helps minimise the movement of abrasive particles into the cabin, especially before paint correction. The interior is often the biggest dust trap, so be sure to clean it thoroughly to avoid any contamination.
Vacuuming every nook and cranny is essential, as is using Total Interior Cleaner throughout the cabin. Focus especially on the carpets and floor mats, as these areas tend to collect dust that can quickly become embedded in the fabric. The goal is to remove as much debris as possible. Use a detailing brush to dust out air vents and hard-to-reach spots, and to agitate Total on plastics that need extra attention. We also find that areas around the door shuts, where kick trims may have been removed and stored before painting, can often be particularly dirty.
For leather seats, we recommend using Hide Leather Cleaner, and don’t forget that a small amount of Wipe Out Interior Disinfectant can be incredibly effective as well.
Auto Finesse Total is a ready to use car interior cleaner which is safe to use on all interior car surfaces. Whether you are cleaning plastic, vinyl rubber, cl... See product details More
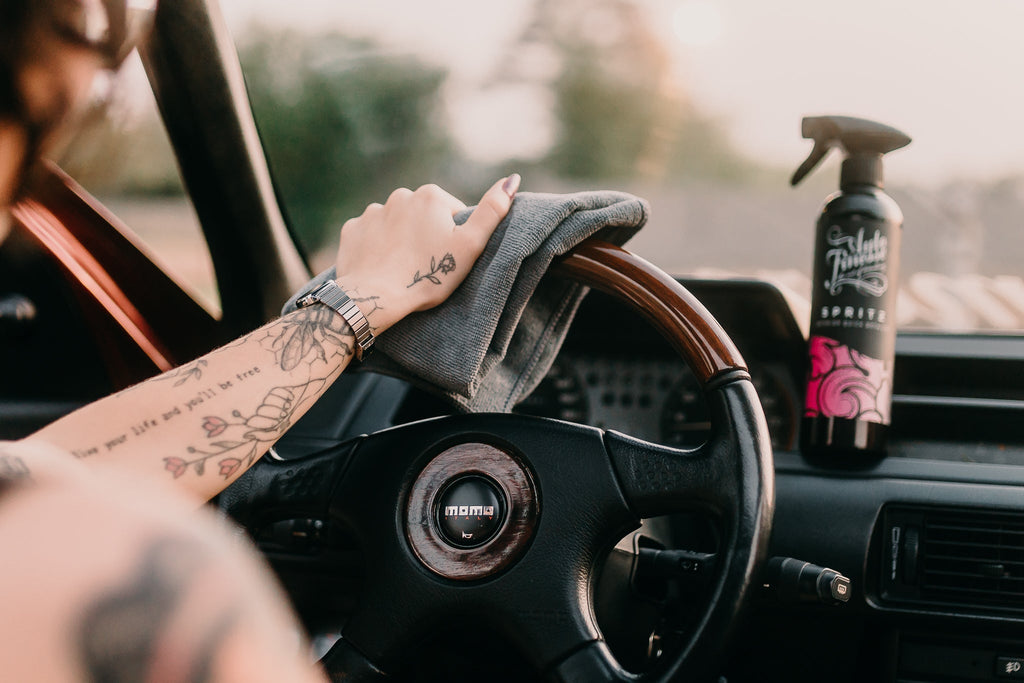
Once the cabin is completely free of dust, use Crystal Glass Cleaner on the interior glass and Spritz Interior Quick Detail Spray on all the plastics for a showroom-quality finish. With that done, you won’t need to revisit the interior until it's time to drive away, ensuring it stays free from contaminants or excess residue from the exterior paintwork refinement.
A clean, dry car is much easier to inspect for overspray. With everything so spotless by now, any imperfections should become immediately apparent. Common areas where overspray might be missed include arch liners, window rubbers, and occasionally, a light mist on the windows.
Most of the time, light overspray can be removed from glass using ObliTARrate Tar and Glue Remover, followed by a thorough polish with Vision Glass Polish. Vision is also excellent for filling in light scratches, making it a great product to use later in the finishing stages as well.
For window rubbers and weather strips, spray undiluted Verso All Purpose Cleaner onto a microfibre cloth and gently rub the surface. This will remove a thin layer of rubber, revealing a fresh finish. When working on the window trims, make sure to treat all the rubbers to ensure an even, consistent look.
The durable plastic used for inner arch liners and under trays is tougher, and while we usually don't recommend using ObliTARrate on plastics, it can be effective for removing overspray in these areas. Applying a generous amount of Verso with a Scrubi Spot Pad will also help restore a like-new appearance. Finally, when you reach the finishing stage, use Dressle on the inner arches to give them an extra polished look.
Professional paint refinement is a complex process, but fortunately, we've simplified it with our colour-coded Revitalise System and DPX Dual Action Polisher combo. While we won’t dive into the technical details of paint types (we’ll save that for a comprehensive guide on machine polishing), it’s important to note that most modern body shops use a 2K, 2-stage paint system.
2K refers to a two-component paint system, where the paint consists of the pigment (the colour or clear coat) and a hardener (the catalyst). Unlike single-component 1K paints, typically found in spray cans, which rely on solvents evaporating to air-dry, 2K paint cures faster and creates a more durable finish through a chemical reaction between the pigment and the catalyst.
A 2-stage paint system means that a colour base layer is applied first, followed by a clear coat layer on top. The same 1K/2K principles apply to the clear coat, as it is essentially a paint without any added pigment. Most professional body shops typically choose the 2K clear coat option for its durability and performance.
In contrast, a 1-stage system combines primer, colour, and topcoat into a single layer, commonly seen on many retro and modern classic cars. Since it doesn't require a separate clear coat, you may occasionally experience some colour transfer onto your pad during refinement, though the process itself remains the same.
While many metallic paints feature a 1K base with a 2K clear coat on top, this distinction is largely irrelevant when it comes to the refining process. In these cases, you're always refining the clear coat layer (often mistakenly called the lacquer), not the colour layer itself. Similarly, candy paints are essentially tinted clear coats built up in multiple layers, so refining them also involves machining the top clear coat layer.
The process of cutting and compounding paint and clearcoat remains consistent with any other restoration: you're aiming to remove swirl marks and holograms through a combination of abrasives and friction. While your new paintwork should generally look good (otherwise, you’d have sent it back), imperfections can often become visible under direct sunlight. The only way to eliminate these marks is through a series of abrasive products with progressively finer grades.
Essentially, you're grinding a microscopic layer off the surface as you machine the paint, revealing a smoother, more even clear coat beneath. To put it in perspective, a human hair is roughly 60 microns thick, while the average paint layer is 150-200 microns. When done properly, you’ll be removing just 1 or 2 microns with each pass.
By using all three stages of our Revitalise System and the DPX Dual Action Polisher, you’ll ensure that you achieve the right level of cut without risking damage to the base coat or, even worse, the primer. Choosing the right tools and abrasives is crucial. For beginners, a Dual Action polisher is recommended over a rotary polisher, as it's far more forgiving. The orbital action helps distribute heat more evenly across the surface, preventing the risk of scorching, which is a common issue with rotary polishers.
Once you’ve worked through the Revitalise stages, finish with a fresh microfibre cloth to buff the surface to perfection, leaving it ready for the application of protective layers.
The Auto Finesse Revitalise System V2 Car Polishing Kit is a three-step machine polishing paint correction programme and the solution to perfecting your paintw... See product details More
We've already covered permeable protection layers, but before applying Radiance Carnauba Crème, Ultra Glaze is an excellent product to consider. This non-abrasive acrylic polymer is formulated to enhance paintwork while further minimising the appearance of swirl marks. It can be applied by hand or with your DPX Dual Action Polisher, leaving a glossy, wet-look finish. After buffing Ultra Glaze to a perfect shine, you're ready for the final step—applying one or two layers of Radiance Carnauba Crème for optimal protection.
Achieving a flawless finish on your car involves several additional steps, much like any top-tier detail. The best part is that this is where you get to bring out all your other detailing favourites.
As mentioned earlier, nothing highlights imperfections like a freshly detailed paint job, so it’s time to treat the rest of your car with the same care. Use Revive Trim Dressing on plastics, Crystal Glass Cleaner for your windows, and Dressle All Purpose Trim Dressing on your arches. Don’t forget to finish off your tyres with Satin Tyre Crème for a polished look. With the right combination of products, your freshly detailed car will shine inside and out. And, of course, remember to wipe away any excess Dressle you may have applied to the engine bay earlier.
And that's it! Your car is now ready to shine and turn heads. Step out, show it off, and enjoy all the attention!
