Restore and protect plastic headlights

IN THIS FREE GUIDE:
Discover the professional way to restore and protect all types of plastic vehicle headlights.
Learn the detailing products to achieve best professional results and see specialist stages such as machine polishing, wet sanding and installing ceramic protection.
See why headlights fade and degrade and how to make sure they detract from the rest of your detail.
Whether you're a car detailing enthusiast looking to perfect your own vehicle or a professional wanting to expand the services you offer, we can guide you through the restoration and protection of one of the most overlooked (yet highly visible) parts of any vehicle - the headlights.
Beyond the obvious safety concerns—ensuring you can see the road ahead and other drivers can see you—faded, discoloured and hazy plastic headlights can detract from an otherwise immaculate detail. After all, anything that draws attention away from the work you’ve put into your car is never a good thing, right?
That's where we can help you achive professional results. Follow along as we take you through the process of restoring headlights from start to finish, share the essential products you’ll need, and demonstrate how professional detailers not only restore faded headlights but also protect them from future damage and grime ingress...


Why Restore and Protect Your Headlights?
Even on relatively modern vehicles, plastic headlights can degrade over time. While this can detract from the overall appearance of your car, it also raises a significant safety concern. In just about every country here in Europe regulations around faded or discoloured lenses are strict, and driving with ineffective headlights can lead to fines or penalties. Therefore, keeping your headlights in top condition isn't just about looks—it's also about safety and legal compliance.
While discoloured headlights are often associated with Japanese imports, they’re actually a common issue on many vehicles from all over the globe. The good news? Faded headlights aren't a huge problem when you know how to restore them properly.

Why Do Headlights Fade?
Since the early 2000s, many car manufacturers have switched from glass to plastic for headlight lenses, primarily to reduce weight and cut production costs. Unfortunately, this choice also makes headlights more vulnerable to fading, clouding and other forms of degradation. Key factors include oxidation, ingrained dirt, UV exposure and general wear and tear.
Much like the clearcoat on car paint, the protective layer on your headlights is designed to shield the plastic from external elements. Over time, oxidation causes the clearcoat to break down, leading to a misty, faded appearance. This process is similar to the way metal rusts when exposed to air. As the degradation deepens, you’ll often need to remove more of the damaged top layer to reach a fresh, clear surface.
In addition to oxidation, UV rays and exposure to harsh cleaning chemicals, along with a lack of hydrophobic protection that allows water and grime to stick, can further accelerate the deterioration of the lens. The result is a hazy, worn-out appearance that affects both aesthetics and functionality.

How Can I Restore My Headlights?
Restoring your headlights follows a similar process to paint correction. Scratches, oxidation and other tiny defects scatter light, creating a dull, foggy appearance. By removing these imperfections, you can create a uniform surface that reflects light more evenly, improving both clarity and shine.
The restoration process typically involves levelling down the damaged layers of the lens, using abrasive polishes and compounds. The key difference with headlights is that partially or fully stripping away the top layer of damaged lacquer may be necessary, and sometimes that will take you down to the plastic itself. This also makes it obvious why it's essential to use protection layers to seal the surface after your correction, just like with your paintwork.
In many cases, wet sanding will be required in the initial cutting phase to remove any deeper oxidation or heavy scratches, or to strip away the damaged clearcoat itself. Wet sanding is similar to polishing, just with a higher level of cut than the coarsest compounds.
While lighter restoration can be completed by hand, most headlight restorations require the use of a machine polisher for tackling deeper defects and achieving the most consistent finish.

What Detailing Products Do I Need?
As we said, while it’s possible to restore headlights by hand, using a machine polisher will give you the most consistent results and allow you to power through the heaviest defects. Many compounds are specifically designed for use with a machine polisher because they'll take too much energy to fully break down and work through by hand. Our MPX Dual Action Machine Polisher is ideal for this task, especially with its 3-inch backing plate that allows you to use our Revitalise Spot Pads to navigate small, contoured areas like headlights.
The random orbital action of the MPX reduces heat build-up, which is essential when polishing plastic surfaces - plastics tend to hold on to heat for longer than painted metal surfaces.
When polishing, the pad breaks down the abrasive particles in your compound making them smaller and smaller, and diminishing their ability to cut away at the surface. As the compound is worked through, the abrasives are smashed together and gradually become finer. When this happens the level of cut becomes finer and finer, basically going from a heaver cut to more of a refinement process. The surface becomes more and more refined depending on how far the polish breaks down and how small the abrasive particles become.
This means that, in some cases, more than one polishing stage is required to achieve the perfect result - each compound can only break down so far before it's spent, when it stops cutting completely, and at this stage you may not have the refinement you're after. So we may use one compound to cut through the defects and then another to refine the surface to a finish thats more flawless than our first compound is able to achieve.
When the heaviest level of cutting is required wet sanding is the first step. In a similar way to a multi stage correction this involves using increasingly finer grades of sandpaper to level down the surface as much as possible. This is followed by the machine polishing stages to further cut and then refine to flawless.

The abrasive compounds you’ll need will always depend on the severity of the defects. In most cases, we'll use a coarse compound to tackle oxidation and scratches, followed by a finer compound to achieve the best in a refinement.
We recommend pro-level products like our Pro Series Polishing Compounds or the Revitalise V2 System for the multi-stage approach. For a quick and simple single stage machine polish our specialist One Step All-in-One Compound may be all you need for the desired results.
For severely damaged headlights - like with the Toyota Supra we’re using in this demo - a wet sanding stage will be necessary. After sanding down the surface with a coarse paper (such as a 1500-grit), we'll work our way through finer grades (2000, 2500, and 3000-grit) until the surface is smooth enough to polish with our cutting compound.
Preparation
Before diving into your restoration, proper surface preparation is essential. Start by thoroughly cleaning the surface of the headlights during your routine car wash. Using powerful 'pure' cleaning agent like Lather Car Shampoo (one that contains no waxes, coatings or shining agents) will ensure the surface is free of anything that could interfere with the restoration process.
Once your car is clean and dry, use a 1:5 dilution of Verso All Purpose Cleaner and a soft Detailing Brush to deep-clean and degrease the surface even more thoroughly. Pay extra attention to areas around the headlights, including rubber seals, to avoid contaminating your polishing pads with gritty particles later.
Once cleaned and dry, apply detailer's Masking Tape around the edges to protect the surrounding paintwork and rubber seals from damage or compound stains.

Wet Sanding
For severely damaged headlights, wet sanding is a necessary specialist step. The key to successful wet sanding is to keep the surface wet at all times, allowing the paper to glide smoothly and minimise the risk of damage. Using water and a drop of Lather Car Shampoo in your Pro Bottle will provide the best lubrication and help your paper glide.Just don't let it dry out.
We can use a random orbital sander here, but for safety sake we’ll usually complete this part of the process by hand, simply because we're using extremely heavy abrasives on plastic and want to limit the heat generated.
In this case we start with 1500-grit paper which is enough for the heaviest defects, then gradually work back through 2000, 2500, and 3000-grits. This progression ensures that the surface becomes smoother and more and more refined. As we work through the different grades the cut gets less and less and the finish gets more and more refined as deeper scratches are levelled down and replaced with lighter scratches. As well as getting less hazy, the surface also gets smoother and smoother - you'll be able to feel it as you work.
Be sure to work in straight lines and switch directions with each grade of paper to prevent inflicting heavy swirl marks.


From Verso All Purpose Cleaner to Imperial Wheel Cleaner, the Auto Finesse® 1-Litre Pro Range mixing bottle is the perfect product for mixing up and diluting c... See product details More
Machine Polishing
After wet sanding, we can move on to the machine polishing stage. Basically we're carrying on using abrasives of even finer and finer grades until the clearcoat or plastic is free of visible scratches.Using the right abrasive compound, we're removing sanding marks and further refining the surface.
Although we could use a series of finer compounds for this process, too. A single-stage polish is sufficient to get the professional results in the speediest time. One Step Compound is our weapon of choice here. This product is especially effective because it starts as a heavy-cut compound and breaks down to a finer finish as you work it through.
Polishing plastics requires a slightly different approach than paint work. Plastics hold onto heat longer, so we work at a lower speed and pass over the surface quickly to avoid scorching.
Instead of straight lines we can work in a crosshatch motion over the whole surface making a few passes to ensure our One Step is fully worked through, before buffing away any residue with a clean Work Cloth.


The ultimate single-stage car polish for paint correction, One Step All-in-One Compound is a speedy car detailing game-changer that offers the easy way to remo... See product details More
Adding Ceramic Protection
Once your headlights are restored, it's crucial to add protection. A ceramic coating will not only seal in your hard work but also protect the surface from UV rays, oxidation and grime in the long term.
Our Caramics Paintwork Protection Kit contains a special SiO2-based coating that bonds chemically with the plastic, providing long-lasting, hydrophobic protection. With our Caramics Paintwork Protection Kit you can give your plastics the same level of protection and hydrophobic performance as your paintwork.
We've made our ceramic coating extremely easy to apply without the need for professional training. After preparing the surface with our specialist Prep Spray you quickly get the optimum surface for ceramic bonding. Then you can simply use the Ceramic Wipes included in the kit to transfer the coating. Follow the crosshatch method for even and effortless application.
Afterward, buff away any residue with a clean microfibre cloth. This layer of protection will keep your headlights looking pristine for up to 12 months… and yes, it really is that easy to apply!


The ultimate in long-lasting ceramic coating protection and gloss for your vehicles paintwork that lasts up to 12 months. Caramics ceramic coat technology bond... See product details More
Routine Maintenance & Topping Up Protection
Maintaining the protection on your headlights over extended periods is extremely simple. During your routine washes you can use our Caramics Enhancing Shampoo to strengthen your SiO2 coating, or use Ceramic Spray Wax after washing to top up the shine and hydrophobic performance.
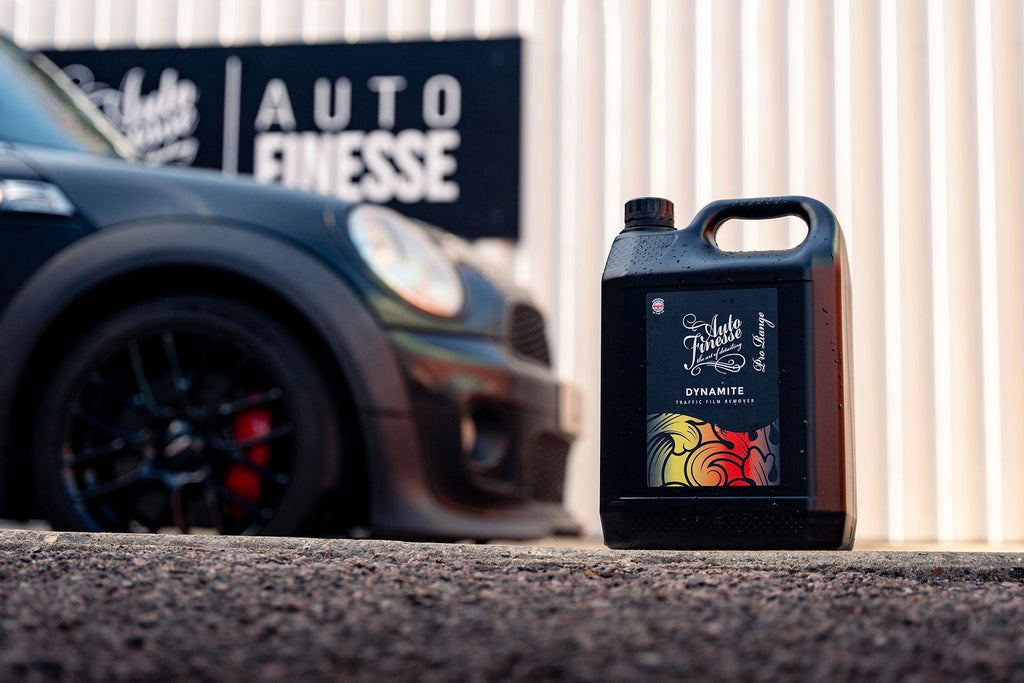
By following a proper safe maintenance routine, you can keep your headlights looking great and performing optimally, with minimal effort. So be sure to consider the cleaning agents that you use along the way. Our collection of coating-safe pre-wash products - such as Citrus Power Bug & Grime Remover, Dynamite Traffic Film Remover and Avalanche Snow Foam are a must for the safest cleaning - not just on your headlights but the rest of your exterior, too. Never neglect your pre-wash, always perform a safe two-bucket contact wash and dry using a soft drying towel such as our Aqua Deluxe or Silk Dying Towel, and you can't go wrong.

So, as you can see, with the right techniques, products and protection, you can restore your headlights to their original clarity and ensure they stay that way for the long term.
For more top detailing guides, check out the Guides Section Of Our Blog.


