The Ultimate Guide to Washing Your Car
At Auto Finesse Car Care, we believe that the car washing process is one of the most crucial steps in car detailing. It not only sets the stage for all subsequent treatments but also helps preserve the results of your efforts over time. Our car wash guide provides a step-by-step approach to achieving the ultimate car wash, ensuring you get the best results.

This stage of your car care routine is often rushed, but it’s crucial for removing loose dirt and silt before they can cause marring. If you have access to a pressure washer or hose, start from the top and work your way down, carefully rinsing each panel. Pay special attention to panel gaps and areas that may trap dirt, such as inside roof rails, ensuring they are thoroughly rinsed. This part of the detailing process should take about fifteen minutes if done properly. The goal is to remove as much loose dirt as possible to prevent it from getting caught in your wash mitt later on.


Often overlooked, the pre-wash stage is crucial for achieving a swirl-free car wash. This step involves removing light contaminants like road grime, road salts, and bug splatter from your vehicle's paintwork. Skipping this stage can result in swirl marks and wash marring. To assist with the pre-wash process, we developed Citrus Power Bug & Grime Remover. This citrus-infused cleaner is applied directly to the surface and allowed to dwell. Most light dirt accumulates on the lower half of the vehicle, as dirt and grime are flicked up by the wheels. Citrus Power will break down these contaminants, making them easier to remove. After 5 minutes, use a garden hose or pressure washer to thoroughly rinse the surface, preparing it for the two-bucket wash.


During the pre-wash stage, it's important to focus on the more intricate areas of your vehicle, such as fuel filler caps, door shuts, grills, and window rubbers. To assist with this, we use our hog hair detailing brush along with Citrus Power. The long, soft bristles of the brush are ideal for reaching and cleaning grime from these tighter spots. Once the dirt is removed, simply rinse the areas with clean water to finish the process.


The two-bucket wash is a crucial stage in the car washing process, where you physically clean the paintwork using a wash mitt or sponge and a car shampoo solution. Begin by filling one bucket with fresh water for rinsing. Fill a second bucket about three-quarters full with water and add Lather car shampoo, stirring to mix. Add enough shampoo to create a slick, soapy mixture, then top up the bucket with water until full.
Start washing from the top of the car and work your way down. Dip your wash mitt into the Lather solution and gently sweep it across the paintwork with light pressure, moving from side to side to lift dirt. Rinse the mitt in the rinse bucket before returning it to the shampoo solution, making sure to squeeze out any trapped dirt. For lambswool mitts, run your fingers through the pile to release debris. Continue this process around the car, always leaving the dirtiest areas, such as the lower parts of doors, the boot lid, and rear bumper, until last.


This stage can be completed either as you wash (panel by panel, which is recommended on hot, sunny days) or after you've washed the entire car. If you're using a pressure washer or hose, adjust it to deliver a steady stream of water. Rinse from the top down, allowing plenty of fresh water to sheet off the paintwork. On a recently detailed car protected with car wax or paint sealant, the rinse water should sheet off, leaving the surface almost dry. If you notice the sheeting effect diminishing after a few weeks, it's time to reapply the protection, as detailed in the later sections. If you don't have a pressure washer or hose, a watering can without a rose can be used for rinsing from the top down. You should expect to use at least five full watering cans for a small car.


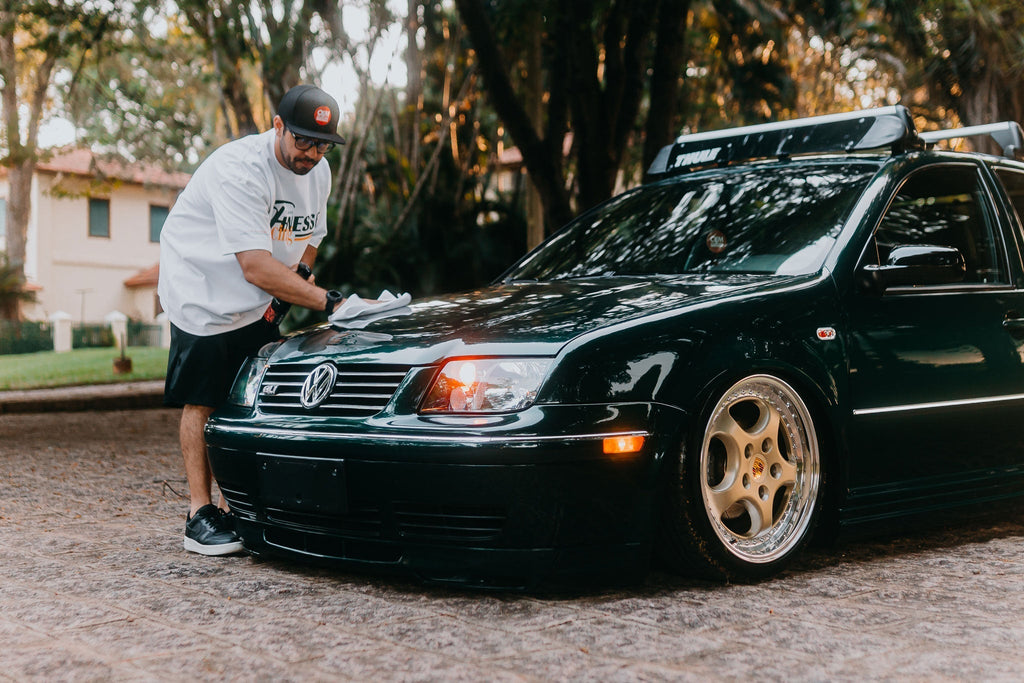
The drying stage is crucial and requires careful attention, as it's where paint damage is most likely to occur. For instance, while a water blade can be effective at drying, it can also scratch the paint if even a tiny piece of grit lands on the surface while you're drying. Such damage will need machine polishing to fix. When drying your car, it's best to proceed methodically and gently. Start from the top and work your way down. Use a well-maintained microfibre drying towel or chamois and gently wipe the surface without applying pressure. To further reduce the risk of marring, consider patting the surface dry rather than wiping it. Alternatively, you can spray a quick detailer or detail spray onto the wet paint, which will add a bit of lubrication and help prevent the towel from causing any damage.


